Spektrum Dx7s Radio Mod to retrofit a RP-SMA connector [Updated 28.01.19]
Sebastian Pohl - 11. Juli 2018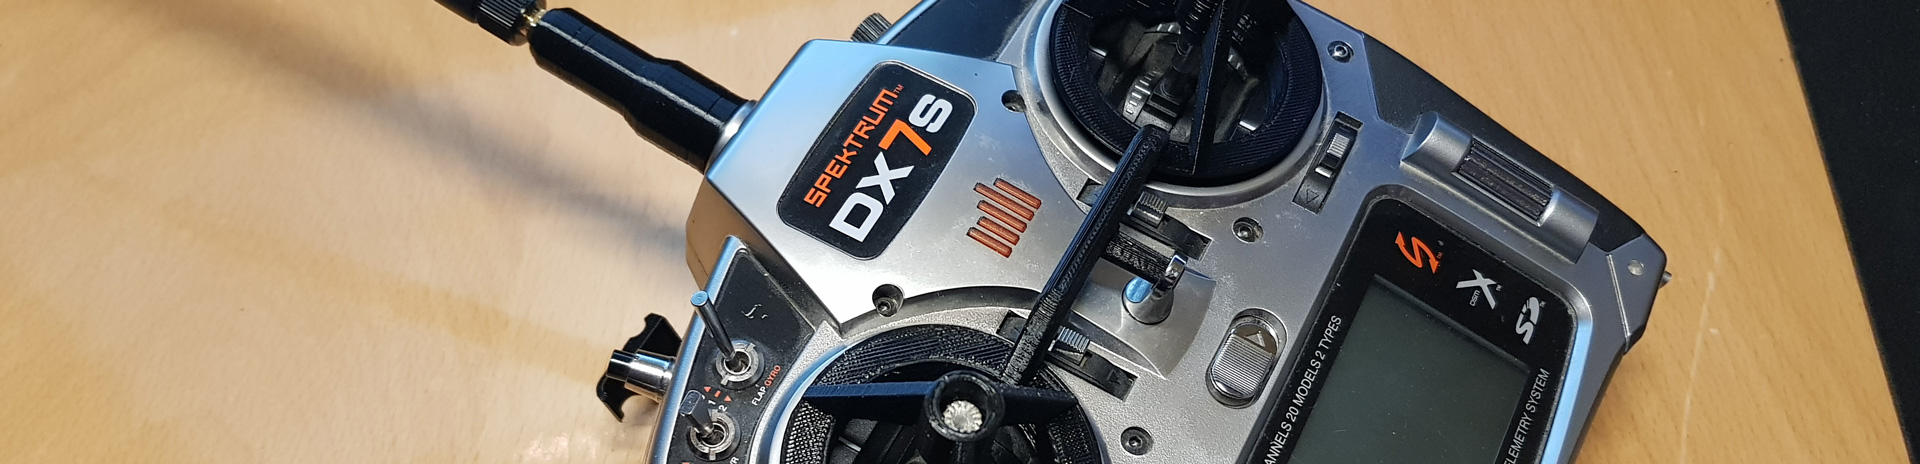
By default the Spektrum DX7S transmitter comes with a built in antenna that can not be changed. If the antenna breaks you can only replace it with the same model. But there is a cheap and easy option to switch it out for an RP-SMA connector so you can easily try out different antennas without modifying the radio irreversibly.
Lets start with the obligatory warning: If you decide to try out what i describe here, you do it on your own risk. Keep a few things in mind:
- You will definitely void any warranty you have.
- There is a risk to fry your transmitter if you power it up without an antenna. (or if you do something wrong…)
- Depending on your location there might be laws and regulations that prohibit the modifications described here. It is your responsibility to check these first!
You will need a few things to do this simple mod. Besides the usual tools like screwdrivers and small wrenches you will have to get the parts that will be changed. Namely a U.FL to RP-SMA pigtail like this one (or any other similar, but i would recommend to get one with a short cable of 10cm, not longer) and a 2.4Ghz antenna like you would buy for a wifi router. There are a lot of options, i had this one laying around so i will test the radio with it. Finally you should have access to a 3D printer (or you need to improvise a little bit).
But let us start from the top. First thing is to open up the transmitter. The tricky part is that the manufacturer decided to hide two screws under the rubber grips on the back.

In the picture above i marked all six locations of the screws. For the two under the grips you have to pry up the rubber parts. If you are careful you can just lift a small part at the top and after the mod just stick it back in place.

Lifting the rubber part you can see two screws. The one you need to get out is the black one closer to the side.
After unscrewing these you still wont be able to just lift the halves apart because on the side there are flat rubber parts that are glued over the seam.
But with a little bit of force and maybe a small spudger you can lift it, too. Just keep in mind that you do not have to rip it off completely, it is more than enough if you lift the part that is on the back half. Also you only have to do this on the right side (looking on to the back side). Because you can then swing it open and the other side acts as a hinge.
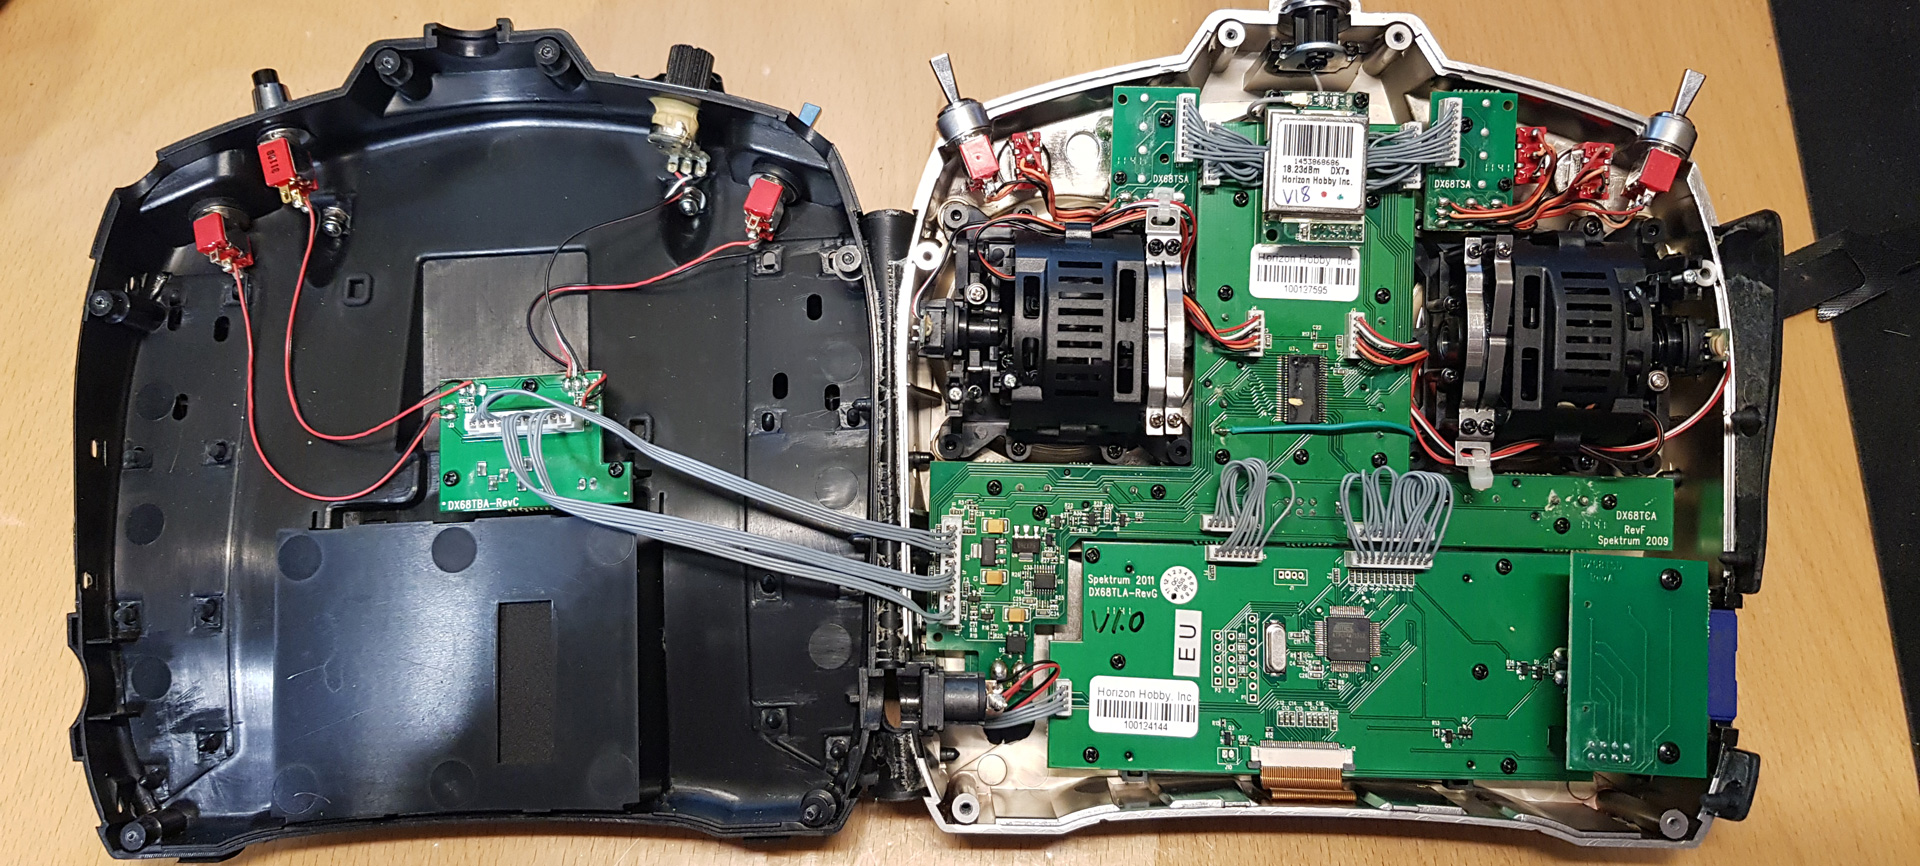
Now the transmitter should lay open in front of you. And the interesting part is in the front half at the top. 
Just below the antenna mount sits the transmitter module. There are a lot of cables disappearing under it but the module itself is only seated in with a pin header and connected to the antenna. Carefully remove the U.FL connection and unscrew the two screws. You can then lift the module up out of its socket. You need to do this to get to the screw that holds in the antenna.
To completely remove the stock antenna you need to take out this screw so you can lift the whole antenna assembly out of the slot.
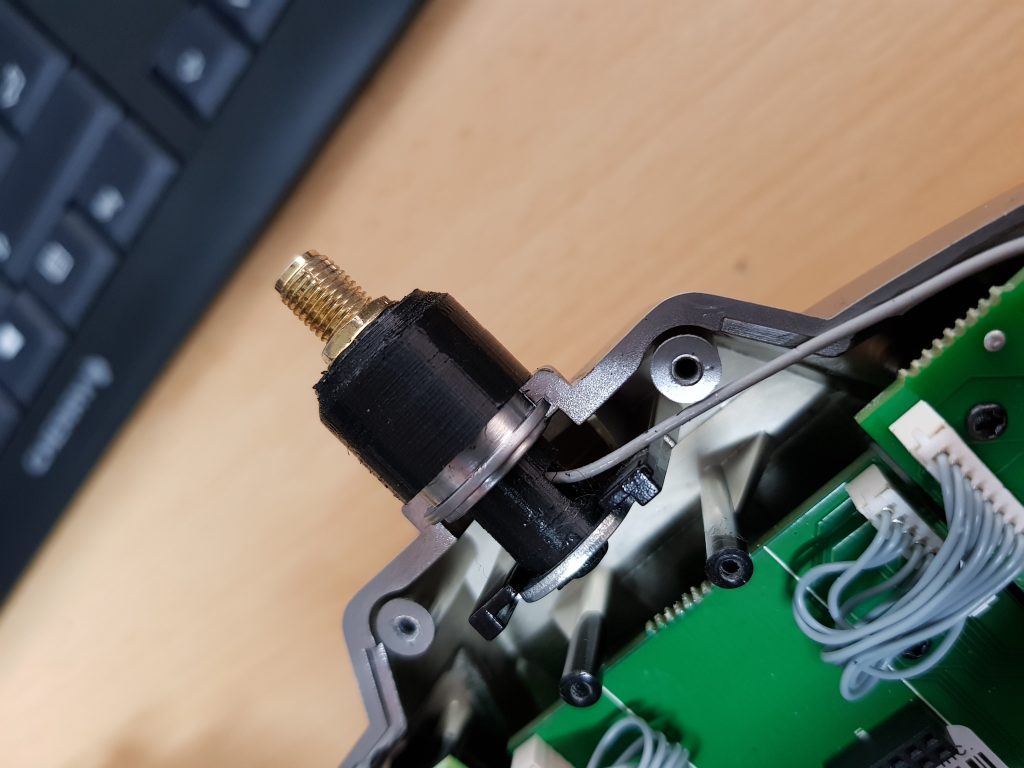
Dont throw it away just yet! In fact i would recommend to keep all original parts to be able to reverse the mod. In the picture above you can see the antenna assembly which consiste of multiple parts. Remove the screw and take out the small plastic part. We will need this later. Just pull out the original antenna cable and put it away.
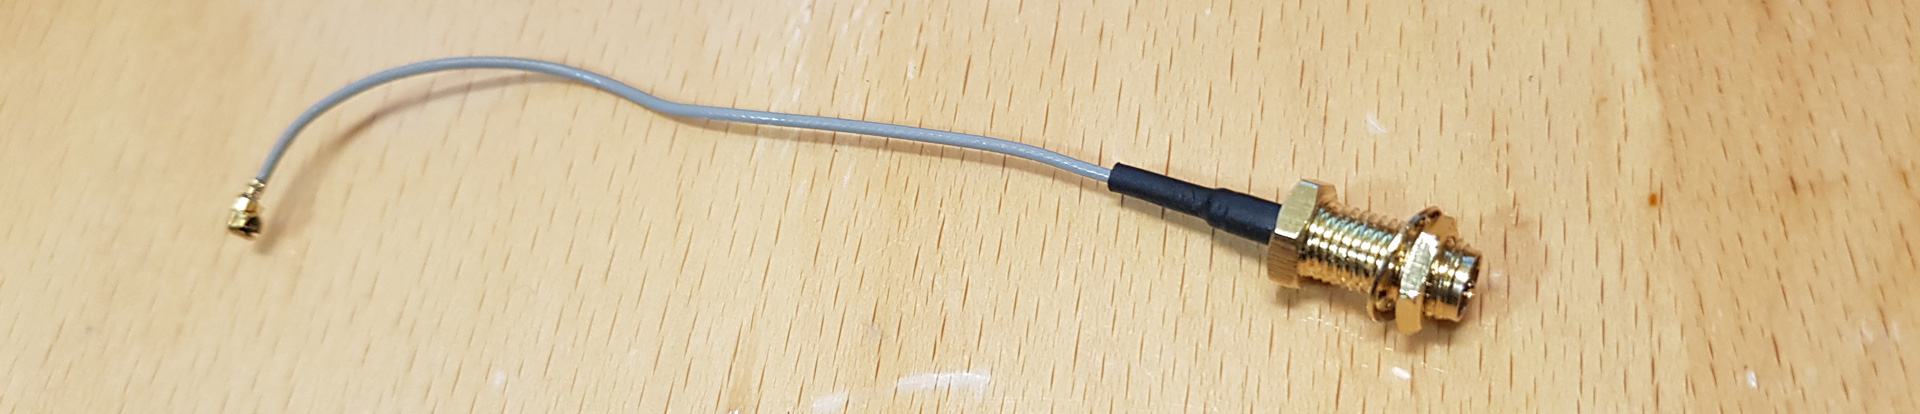
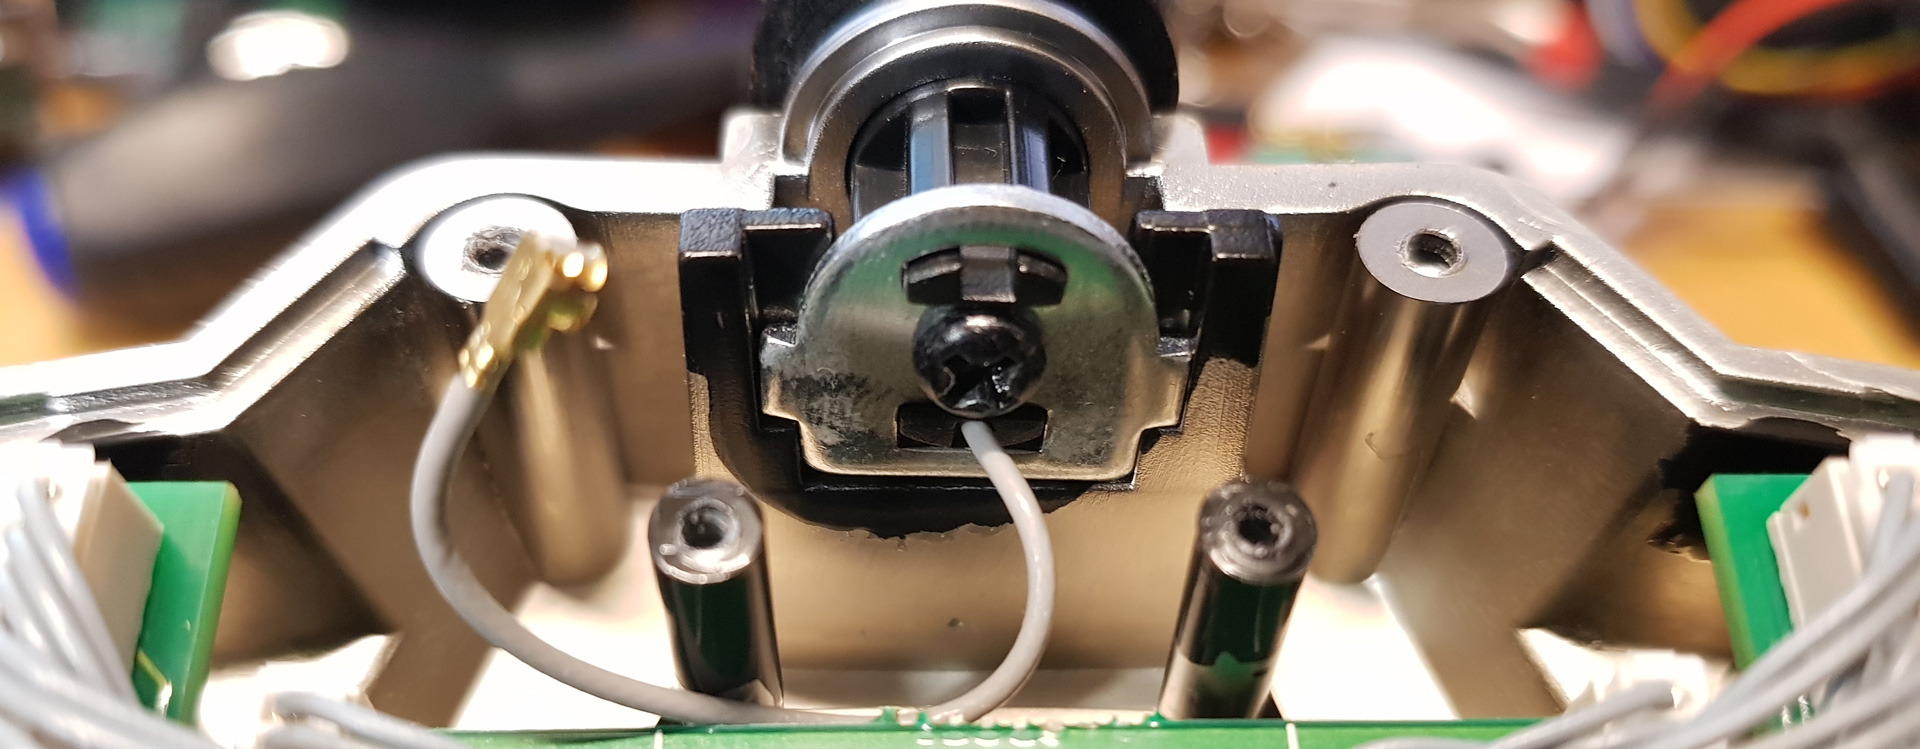
Now we need the SMA pigtail. It should look something like in the picture.
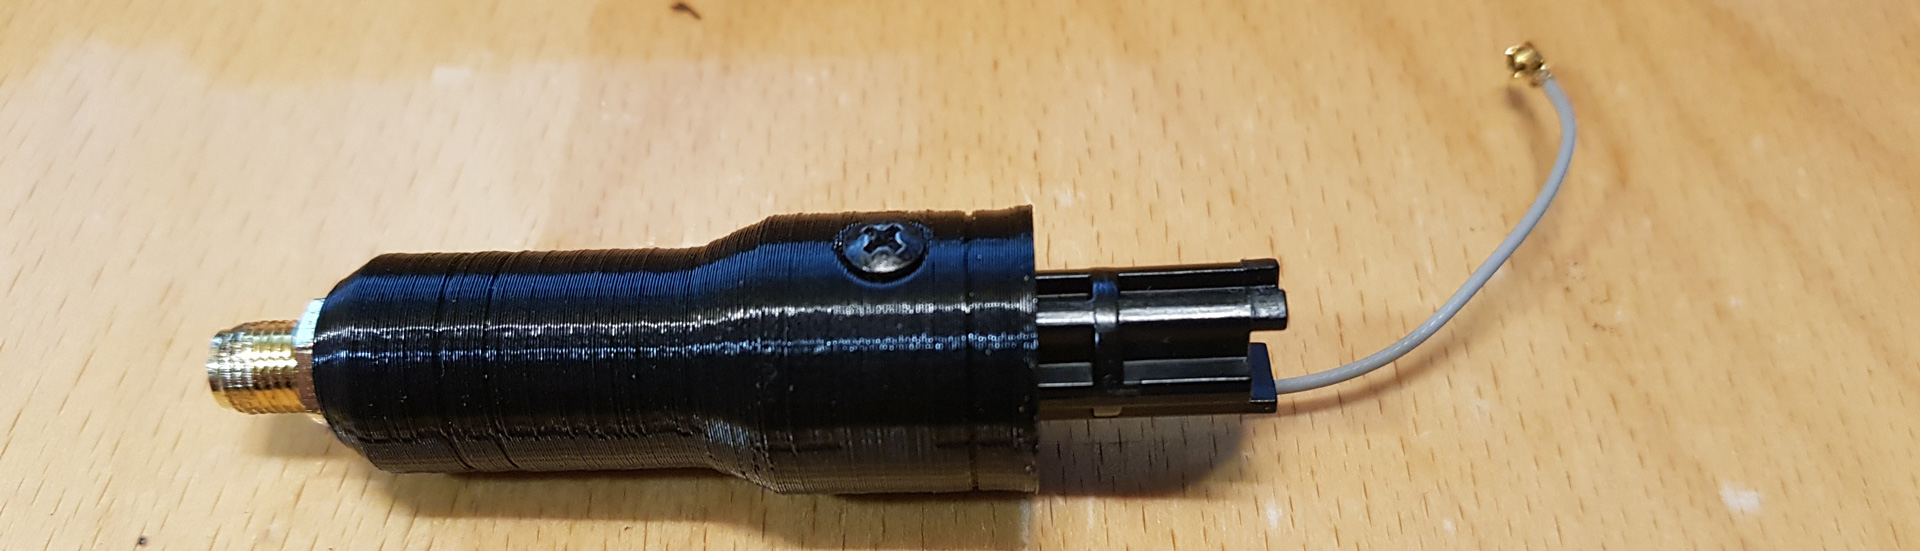
I designed and printed a small antenna cover that holds the connector and can be screwed into the plastic part we salvaged above. This is the easiest way to mount it to the transmitter. You can find the file on Thingiverse.
If you do not have access to a 3D printer, you have to improvise a little bit here…

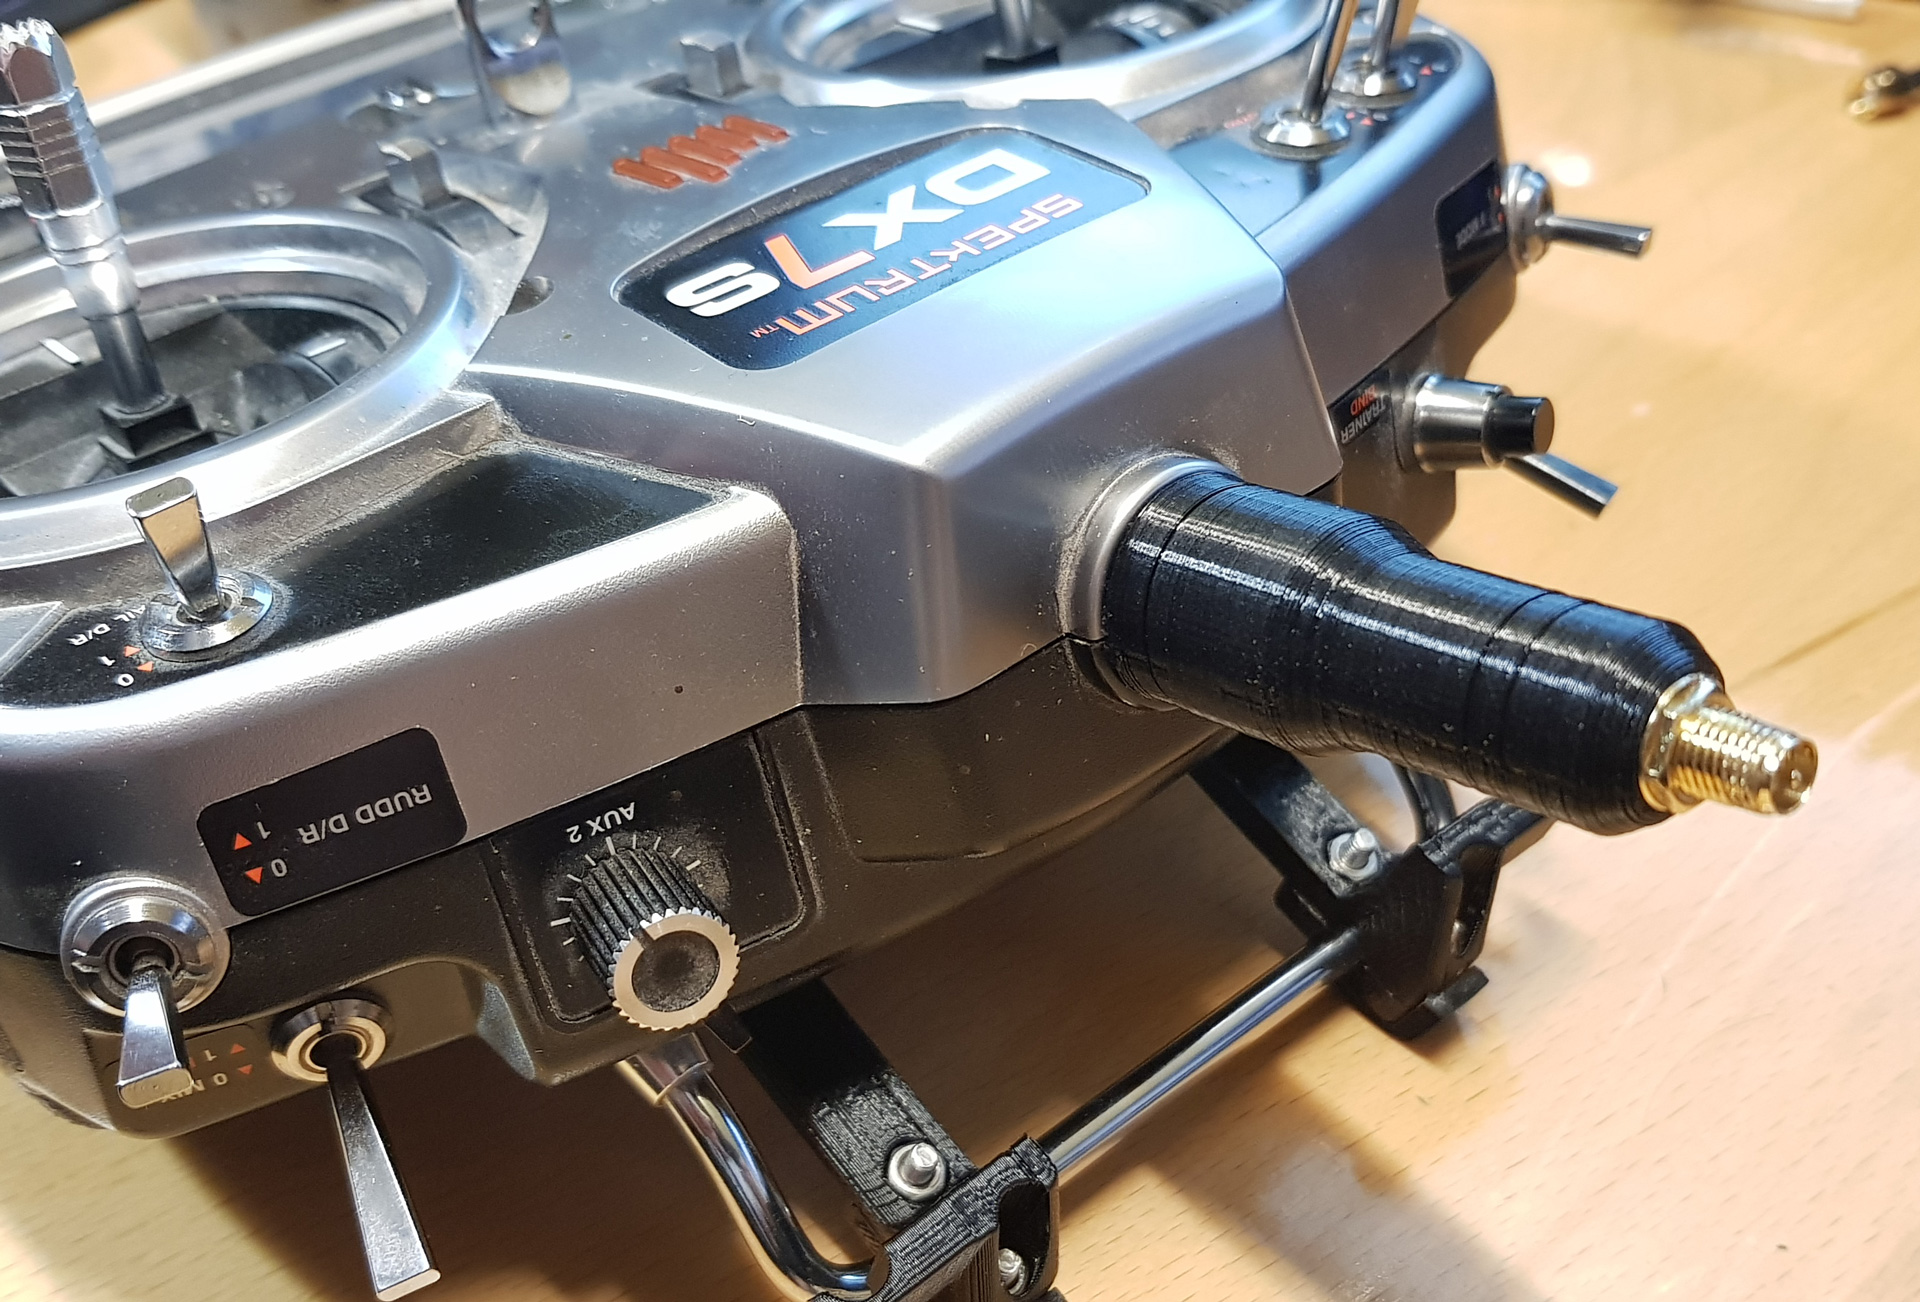
Back in the transmitter it should look like this. Notice that the antenna connector is just a few Centimeters longer than it needs to be. I assume that a longer cable might negatively affect the range or signal quality.
Before plugging the transmitter module back in, remember to screw in the small screw that holds the bottom of the antenna assembly in place! When the module is back in place, carefully plug in the U.FL connector and make sure it is seated properly.
You can then close the transmitter and it should look something similar to this:
I gave it a few tests with the antenna screwed on and everything seems to work fine! Range tests are still to be done!
If you have any question, feel free to ask in the comments!

Just remember: Always screw on the antenna before powering on the transmitter! Otherwise you might damage it!
Update, 28.01.2019
After using the 3d-printed antenna cover for a while i decided it was a little bit too bulky so i designed a new, shorter one:
This cover is available on thingiverse: https://www.thingiverse.com/thing:3387603